Zoomex Demo Account

How to Open a Demo Account on Zoomex with Phone Number or Email
With Phone Number
1. Go to Zoomex testnet and click [Sign Up].
2. Choose your region/nation number and type in your phone number, then secure your account with a strong password.
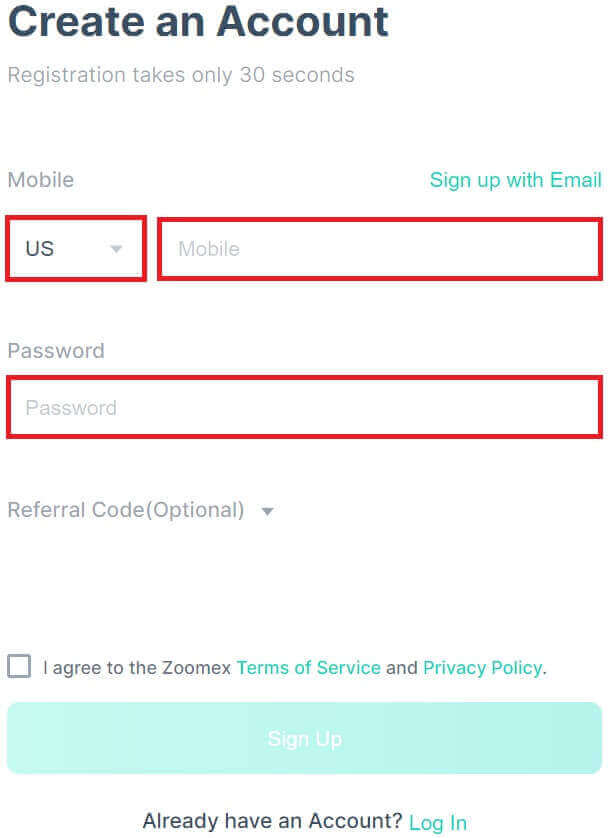
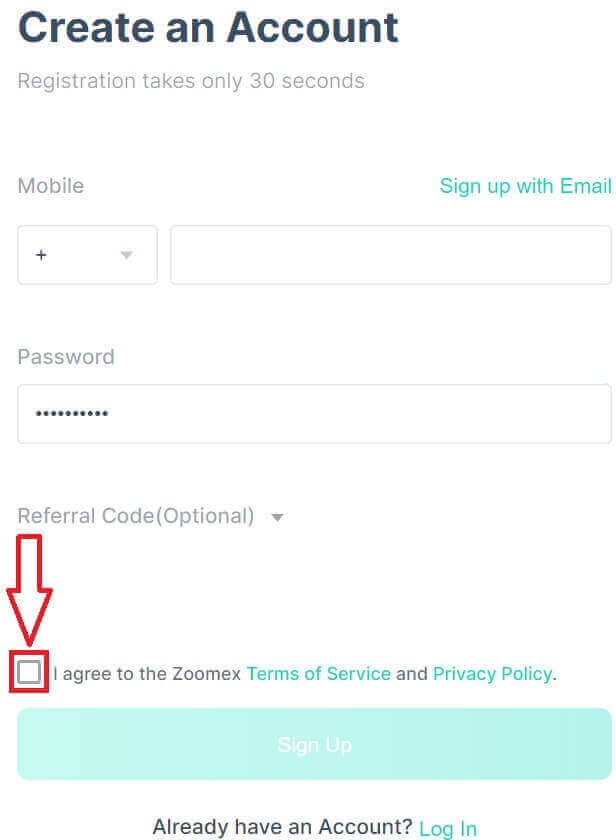
3. Tick on the box to agree to the Zoomex Terms of Service and Privacy Policy.
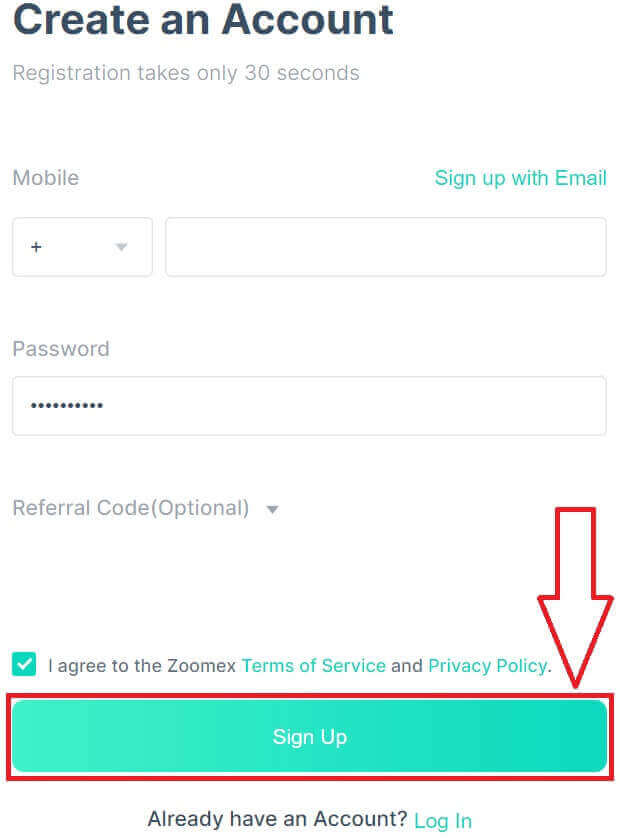
4. Click on [Sign Up] to continue to the next step.
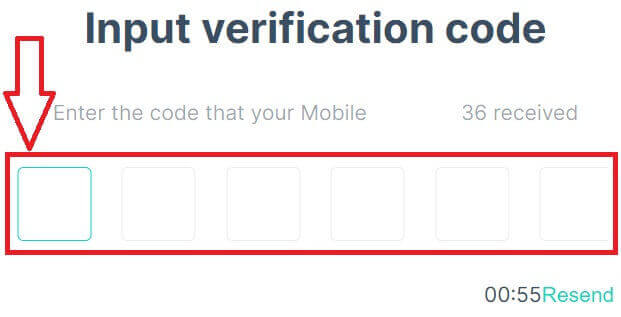
5. Type in the verification code from your mobile phone.
6. Congratulations, you have successfully registered an account with your Phone number on Zoomex.
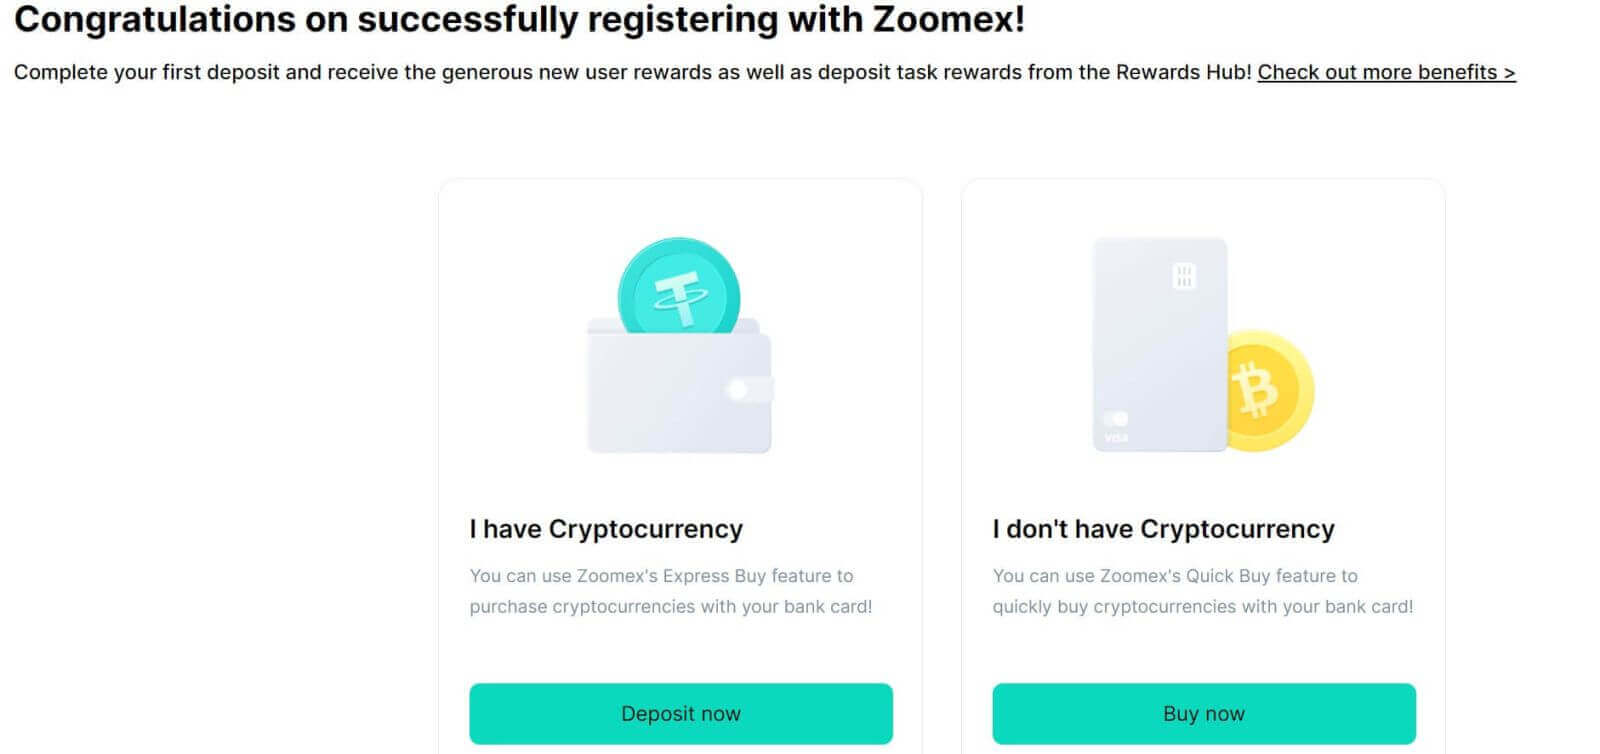
7. Here is the home page of Zoomex testnet after you signed up.

With Email
1. Go to Zoomex testnet and click [Sign Up].
2. Click on the [Sign up with Email] to choose to sign in with your email.
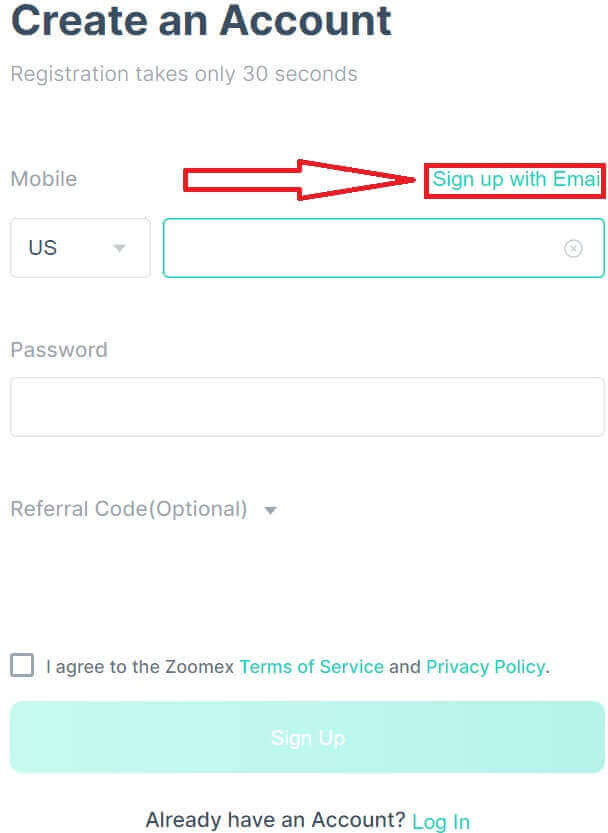
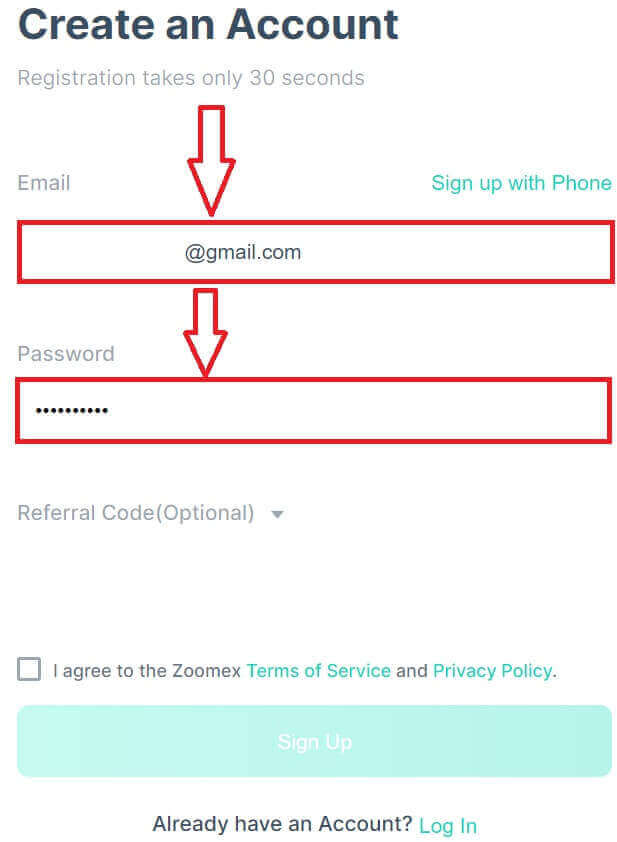
3. Type in your email and secure your account with a strong password.
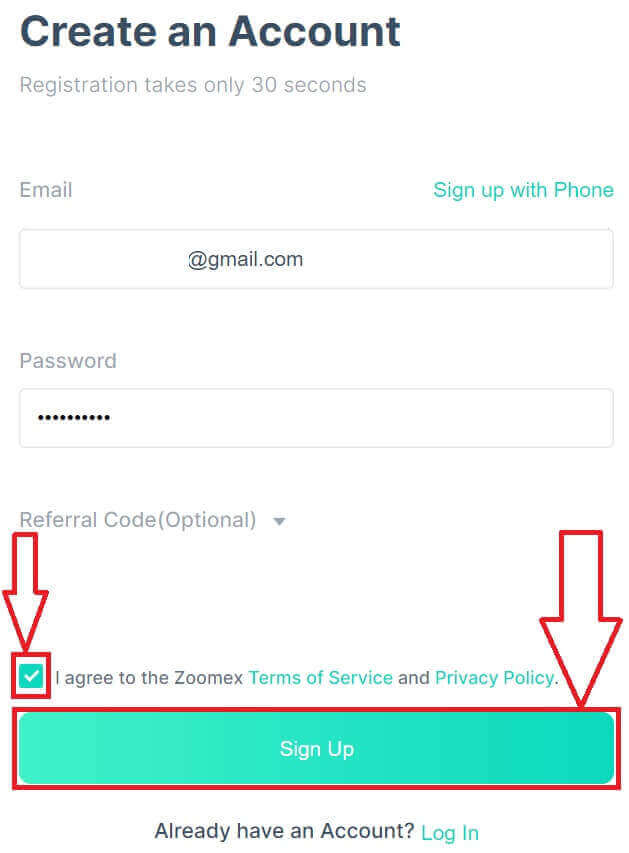
4. Tick the box to agree to the Zoomex Term of Service and Privacy Policy. Click on [Sign Up] to continue to the next step.
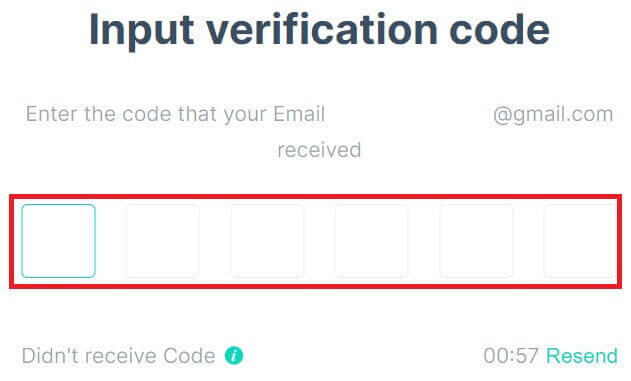
5. Type in the verification code from your email.
6. Congratulations, you have successfully registered an account with your Email on Zoomex.

7. Here is the home page of Zoomex testnet after you signed up.

How to Open a Demo Account on the Zoomex App
1. Open your browser go to Zoomex testnet and click on the [Create An Account].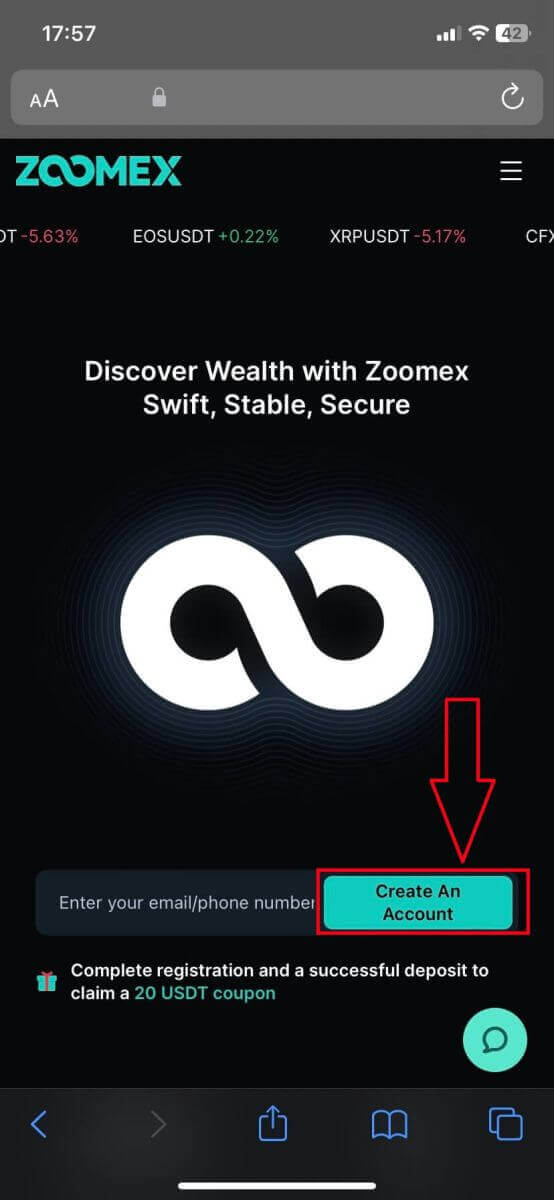
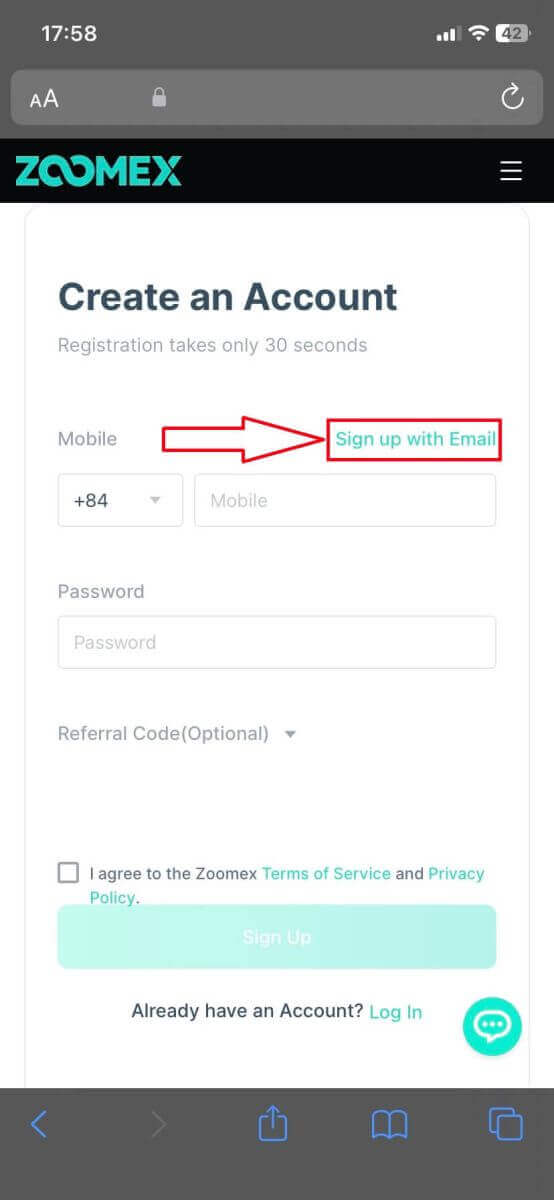
2. Choose your registration method, you could choose your email/phone number. Here I am using email so I click on [Sign up with Email].
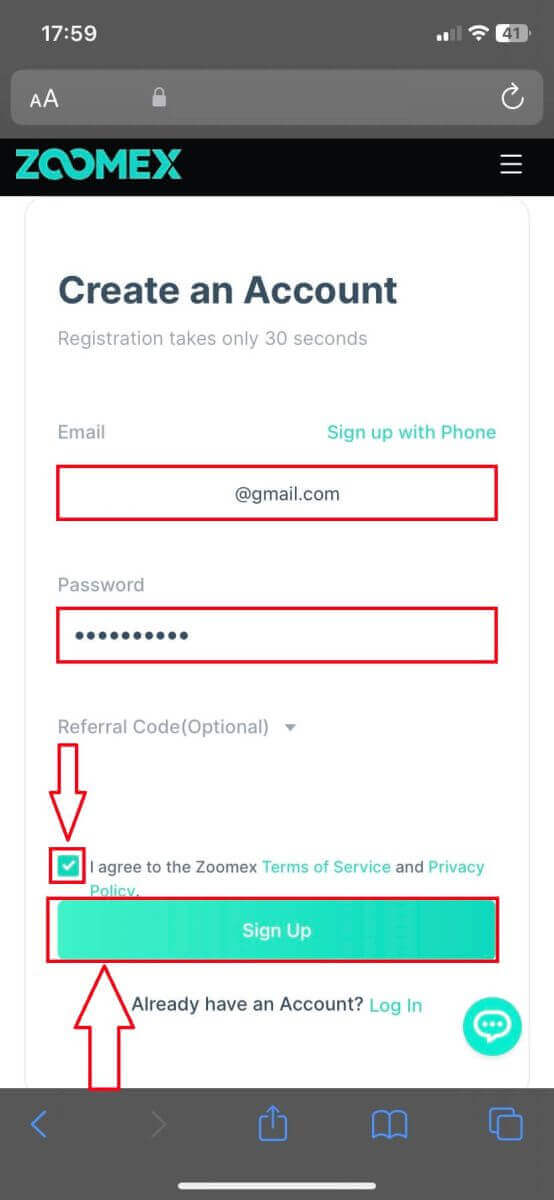
3. Fill out the information and password. Tick on the box to agree to the Zoomex Terms of Service and Privacy Policy. Then Click on [Sign Up] for the next step.
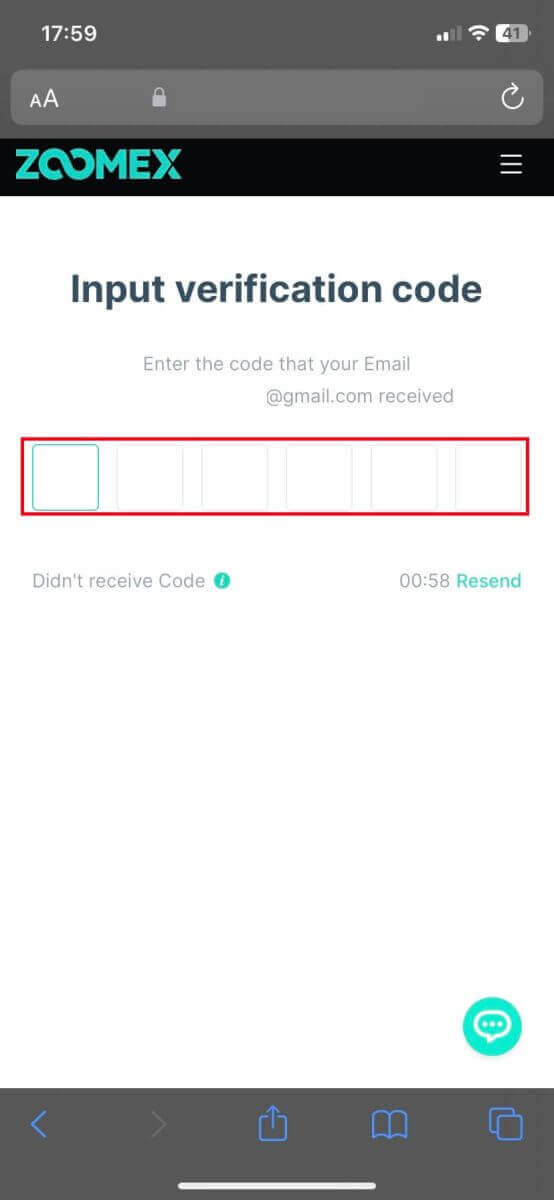
4. Type in the verification code from your mobile phone/email.
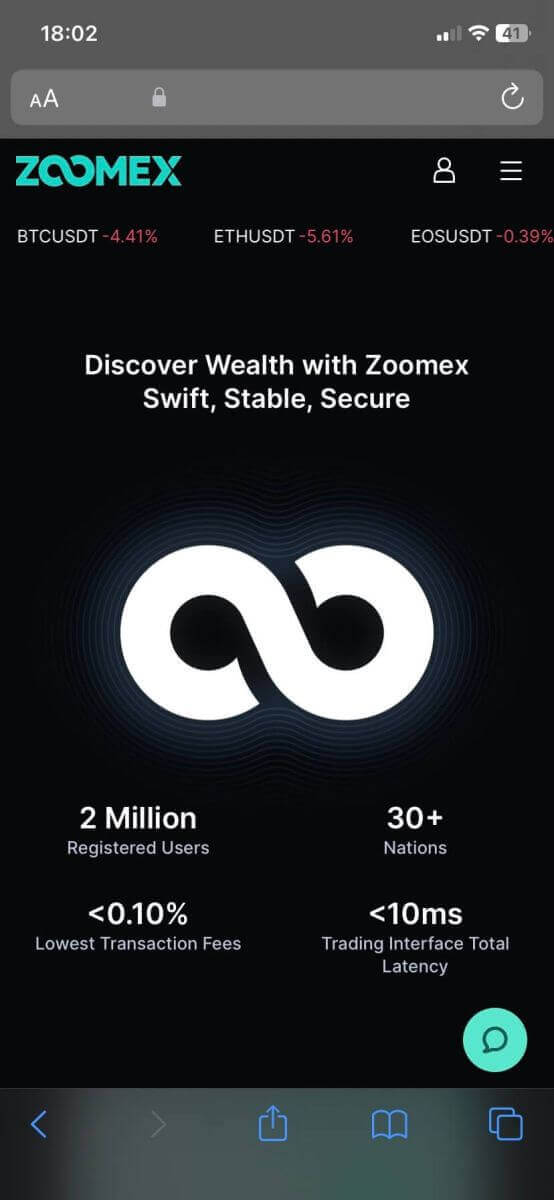
5. Congratulations, you have registered successfully. Here is the home page of Zoomex testnet after you signed up.
Frequently Asked Questions (FAQ)
Service Restricted Countries
zoomex does not offer services or products to Users in a few excluded jurisdictions including the United States, mainland China, Singapore, Quebec (Canada), North Korea, Cuba, Iran, Crimea, Sevastopol, Sudan, Syria, or any other jurisdictions in which we may determine from time to time to terminate the services at our sole discretion (the “Excluded Jurisdictions”). You should inform us immediately if you become a resident in any of the Excluded Jurisdictions or are aware of any Clients based in any of the Excluded Jurisdictions. You understand and acknowledge that if it is determined that you have given false representations of your location or place of residence, the Company reserves the right to take any appropriate actions with compliance to the local jurisdiction, including termination of any Account immediately and liquidating any open positions.How to set/change Google authentication?
- To set or modify your two-factor authentication, go to ’Account Security’. In this section, you can set or change your email, SMS, or Google Authentication two-factor authentications.
- Two-factor authentication can be Email/SMS Authentication + Google Authentication.
Google Authentication
To set your Google authentication, click on "Settings".
Then, click on "Send verification code".
Please remember to check your spam/junk mail. If you still have not received the authentication email, you may click on "Send verification code" again after 60 seconds.
Then, enter the verification code sent to your registered email address.
Click "Confirm".
- Setup your Google Authenticator App (follow the guide below on setting up Google Authenticator App).
- Input the obtained Google Authenticator code into the "3. Enable Google Two Factor Authentication"
- The setup will be successfully completed.
How to reset Your password?
1. Click on ’Forgot Password?’ at the bottom of the login page.
2. Enter your registered email or mobile number on the following page accordingly. An email/message should be sent once you have done so carrying the verification code.
3. Enter your new password, password confirmation, and the verification code sent to your registered email address or mobile number. Click on ’Confirm’.
Your new password has successfully been set.


